Wednesday 19 October 2011

Oreo Muffins (among other things)..

Hi!!
Haven't blogged in quite a while (but that doesn't mean I haven't baked a lot..)
I'm all moved into to university, and absolutely loving the freedom - I do miss being at home, but this way, I get to make brownies at 1 in the morning and no one shouts at me!
Anyway, last night I made some Oreo Muffins (because that's all there is to do on a Tuesday evening when no one in your flat wants to go out...)


So, let's get started..


Ingredients


For the streusel topping.
2 tbsp butter
2 tbsp sugar
2 tbsp plain flour
4-5 oreos, coarsely chopped/crumbled - do it with a knife, or in a food processor, or in a bag with a rolling pin; any way works.


For the actual muffin mix
2 cups plain flour
1/2 tsp baking powder
113g butter, softened
1 cup sugar
2 eggs, room temp
little bit of vanilla extract
1/2 cup milk 
and around 8-10 Oreos (rough chop) - if using a normal sized package or Oreos, just use 4 for the streusel topping and the remainder for the batter.


Method
Making the topping.
Firstly, cut up all the lovely Oreos.


Mix the ingredients together in a little bowl. A spoon or spatula works, but I used my hands.


Put the streusel in the fridge until you need it.


Making the batter:
Combine the flour and baking powder in a medium bowl.
Next, beat the butter and sugar until light and fluffy, and then add in the eggs one by one, beating well after each addition.
Add in the vanilla, and then all of the flour/baking powder. Add in the milk and Oreo chunks and fold in until just combined.
Spoon into muffin cases (this batter made around 12 muffins), and grab the streusel mix out of the fridge and crumble on top of each one.


Make sure your oven is preheated. Here's the issue - my university oven is absolutely awful and burns everything. So, I put it on a lower heat. Normally these would go in at around 200C, but for our convection oven, I put them in at 180C ish for around 15 minutes.. In a conventional oven, it'd likely take a few minutes longer.


MMMMM Yummy!!!


And here's Rebecca; being incredibly helpful while I clear up the mess in the kitchen.


On a separate note..

Oreo Cupcakes - made for my friend Hannie (who's also a brilliant baker!!)
She made "Yummy Cookie Dough Muffins" and they really lived up to their name..


Mars Bar cupcakes..
A chocolate base, with cream cheese frosting and a slice of Mars on top. Although I do find it annoying when the toppings miraculously disappear, thanks to a certain someone! (Yes Joel, I'm talking to you!).. This happened about 5 times when I made Malteser Cupcakes a few weeks back, so I'm pretty used to it by now..


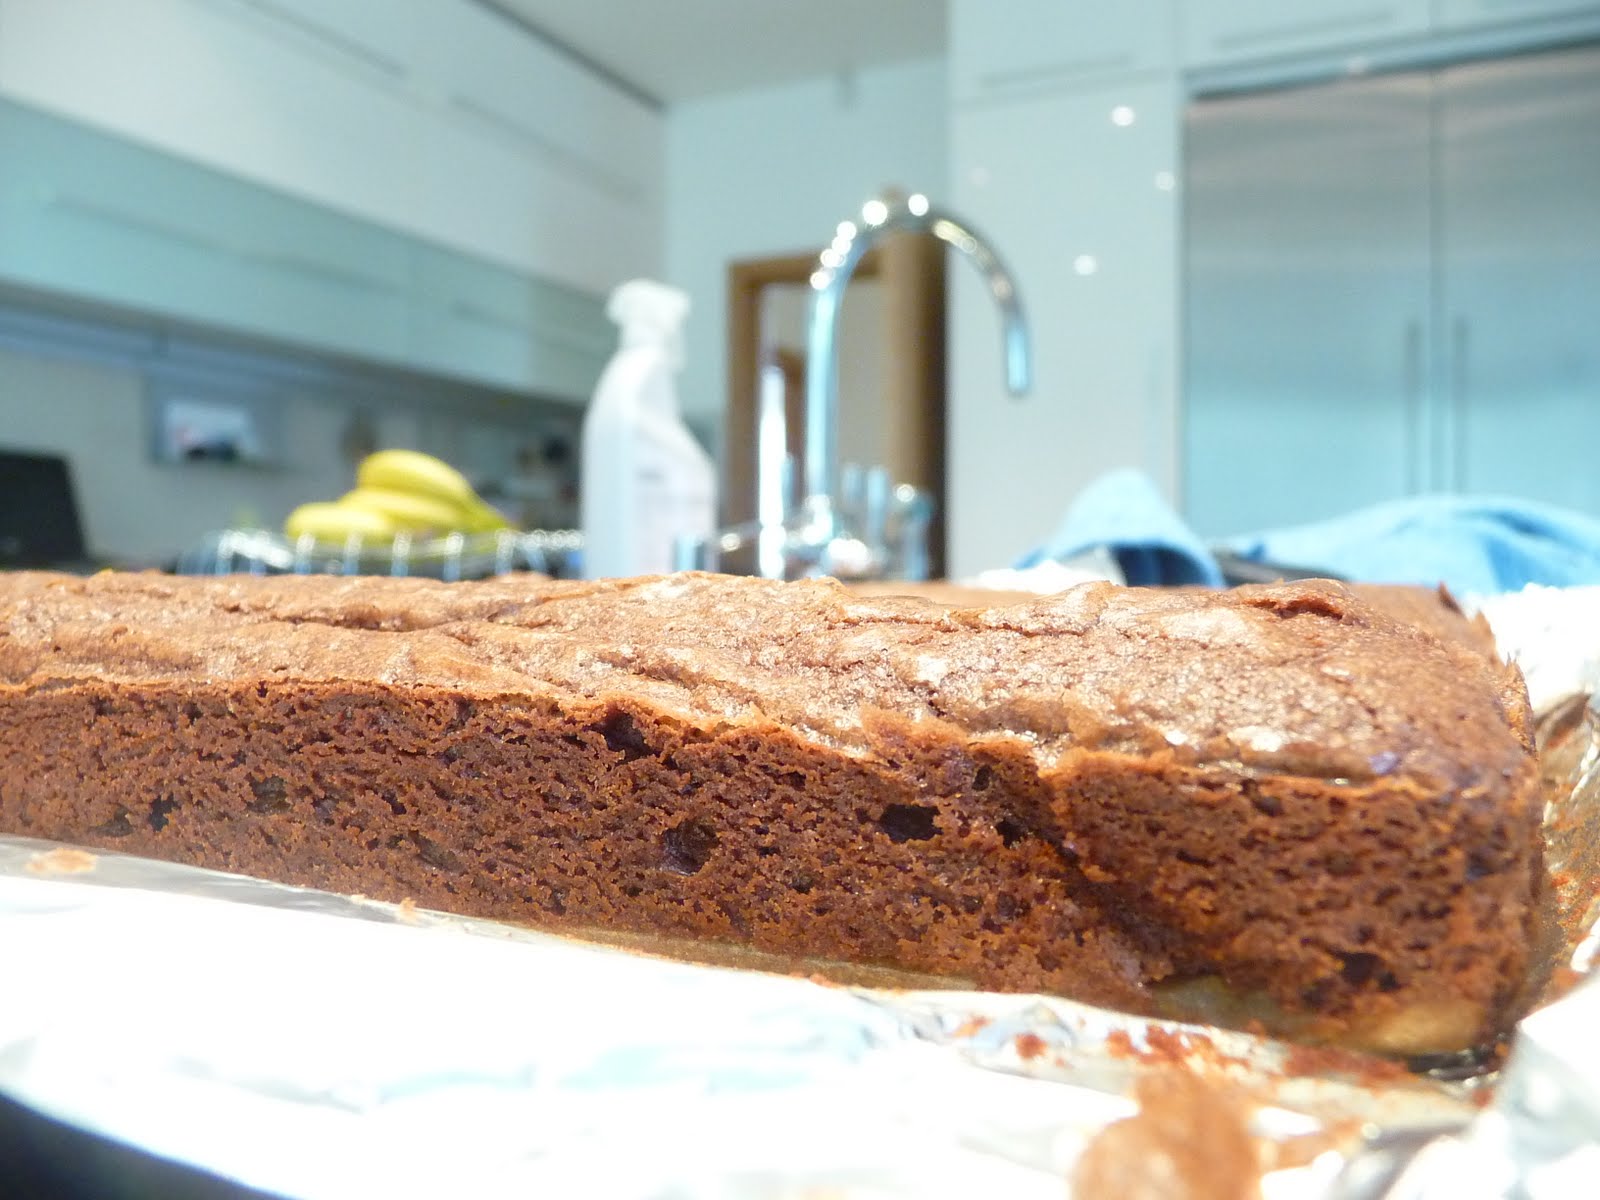
Here's a batch of brownies made at around 1.30 am on a Saturday morning.. No one realised that you actually have to wait for a brownie to cool before eating it, so they just dug their forks in. Fair do's, I guess. The few that were left over the next morning were amazing! Although they weren't around for long; nothing ever is in this house!!

Bye for now! x

Wednesday 7 September 2011

Rolo Cupcakes

Looks good, no?

So, today I went back to my old school for a little visit and thought it'd be cute to bring in a batch of Rolo cupcakes for some of my lovely teachers!
If you were with me during my last year of school, you'd know that this is pretty much a standard "Jenny" thing to do.. My philosopy; why bother arguing with teachers about over-due economics and politics homeworks when I'm holding a box of 12 cupcakes?
Exactly - there's no need.. And my method is win-win (not for my exam technique, however).

Ingredients
170g unsalted butter, softened
120g caster sugar
35g brown sugar
little bit of vanilla extract
3 eggs, plus 1 extra egg yolk
170g plain flour
1tsp baking powder
pinch of salt
lots and lots of Rolos

Preheat oven to 180C, and line a 12 hole cupcake pan with muffin liners.
In a large bowl, beat the butter and the sugars until light and fluffy. Add in the eggs, one at a time, and then the vanilla and carry on beating.
Next, fold in the flour, baking powder and salt.
You can mix the Rolos into the batter and then spoon into the cases, or cut them in half etc.
I fancied putting a whole one in the centre of the cupcake - this didn't really go too well..
I use an ice cream scoop to fill my cupcake cases, so I scooped up the batter and then placed a Rolo in the centre and covered it with more mixture, hoping that it would stay in place whilst baking.


However, it sank right down and created a sticky, caramel related mess at the bottom of each case.
Whatever.. the cupcake was still yummy :D

Bake for 20-25 mins, or until the cupcake is firm and springy to the touch - a sharp knife will also come out clean when inserted into the centre.


Mmmmmmmm.. this cupcake recipe goes amazingly with any mix-in.. It's just so light and fluffy and easy.

Set them aside to cool, and then transfer onto a wire rack.

Frosting! I love this bit!!!!!

Ingredients
100g cream cheese, softened
75g unsalted butter, softened
300g icing sugar (don't bother sifting - it's too messy)
little bit vanilla extract
ROLOS!
caramel drizzle sauce (totally optional)

Beat the butter and cheese, and then add in the sugar on extremely low speed until incorporated, also adding in the vanilla.
Spread onto cupcakes or pipe - but, piping does look much cooler.


Now, splodge a little bit of the caramel onto the centre of the cupcake, and stick the Rolo on top. Caramel isn't truly necessary, but it looks nice.
It drizzled down the sides a little, but that didn't really bother me.


I had leftover Rolos, so why not add another?

Caution; these are extremely mouth-watering so don't dribble all over your keyboard.

Needless to say, these were a massive hit!!!
I saved one, and it might actually still be in the fridge... Fingers crossed that no one's eaten it yet!!!!

Jenny x

Tuesday 23 August 2011

In Other News..

I know this is a baking blog, but I thought I'd take a shot at making a non-baking related post.
You've probably come onto this website hoping for pictures of cupcakes and brownies and stuff - sorry to disappoint you today! But, I've got lots of baking planned for next week, so stay tuned!

I live in London, and the weather here is awful - it was pouring with rain today!
Regardless, my friend Rebecca and I braved the weather and headed into town for some shopping..
This is Rebecca, beautifully modelling a waterproof jacket.


Anyway, we had a little bit of lunch in Selfridges and spotted a Pinkberry (a very yummy frozen yoghurt concession inside the department store's food hall)..
I doubt that anyone actually cares, but our fro-yo's were amazing!


Left (mine) - Natural with strawberries and Oreo pieces.
Right (Rebecca's) - Natural with strawberries, raspberries, mango, brownie bites and heath bar pieces.


I guess this remotely relates to the purpose of the blog as a whole...
Anyway - hope you enjoyed that quick update.
I'd suggest you check out Pinkberry as soon as possible, because it is delicious!

Thursday 18 August 2011

Twix Brownies

Yay! More brownies!!
This time, with chunks of Twix!


I've been experimenting with lots of different brownie recipes lately, but I always seem to go back to Lorraine Pascale's Brownie Recipe..
I altered the recipe ever so slightly, but all credits go to her!
I've already eaten 3 of these (as well as around 4 from the last batch of Mars brownies - someone please stop me!)


Ingredients

165g butter
220g dark chocolate
3 large eggs
2 extra egg yolks
little bit of vanilla
165 light brown sugar
2tbsp plain flour
1tbsp cocoa powder
pinch of salt
3 normal sized Twix bars, cut into chunks..

Preheat oven to 180C, and line a baking tin etc..
Melt the butter and chocolate either in the microwave or on top of a saucepan, and leave to cool for a few minutes.
Cut up the Twix bars!!


In another bowl, beat the eggs, yolks and vanilla until light and fluffy. Next, add in the sugar in two batches and continue to mix.
Then, fold in the chocolate mixture, and then the flour, cocoa powder and salt until just combined..


Fold in the Twix chunks, and then pour into the prepared tin!


Bake at 180 for 25-30 mins..
You know what, just click this link - Lorraine explains it all much better.

This is my staple brownie recipe, and there is no doubt that I'll be coming back to this for years to come..
It's a little bit fussy (i.e. hand-mixer, melting chocolate and using up 5 eggs) but definitely worth it!!
Any type of mix-in work with this! I've used Oreos and Maltesers before and they matched up perfectly with the brownie's texture and sweetness!


Mars Bar Brownies

I was having a little mooch around the supermarket thinking 'what would taste nice in a chocolate brownie?'. 
I narrowed my list down to Mars, Twix, Rolo, and M&Ms. 
For some bizarre reason, Sainsburys DIDN'T sell regular M&Ms, only peanut! Not amused..
So, that plan fell through.
I couldn't be bothered for Rolos either, but I'll attempt that at some point in the very near future (maybe even inside a cupcake?)
Mars and Twix it is...
I thought I'd test out a couple of different brownie recipes for each of the chocolates, so the Twix one is to follow in another post.


For the Mars Bar Brownies..

Ingredients
6oz butter, softened
4oz dark chocolate
1/2 cup caster sugar
3 large eggs
tsp vanilla
pinch salt
1/2cup plain flour + 1 teaspoon
5 snack size Mars bars, cut into chunks.

Preheat your oven to 180C, and line an 8x8 pan with parchment paper, or just use a disposable foil dish (these are SO much easier)..
Melt the chocolate and butter over a saucepan on a low heat, and leave to cool.


While it's cooling, grab a cutting board and knife and dice the Mars bars into small pieces..


Next, stir in the sugar, vanilla, salt and eggs into the chocolate mixture, and then gradually add the flour in until just combined.
Spread half of the batter into the baking tin and then create an even layer of Mars, before pouring the rest of the brownie mix on top so that all the chocolate chunks are covered.

Before the second layer of batter..

Bake for 30-35 minutes depending on your oven, but I took mine out after exactly 30. If a toothpick comes out clean, it's overcooked! You want moist crumbs, and the brownie should be firm-ish to the touch!!!! 

I love how some of the Mars chunks have risen to the top of the batter! Leave the brownie in a cool, dry place until ready to cut and serve.

I find that, with a gooey brownie, they can be a tad difficult to cut unless they've been chilled for a bit. I made these in the evening and was planning on serving them the next morning, so I wrapped the entire brownie up and put it in the fridge overnight. Then, in the morning, they were much easier to cut and retained their texture after sitting at room temperature for half an hour or so.


I was just being silly here - and yes, they did all topple over!

Good recipe..
Could definitely work with other chocolates too, but the caramel and nougat from the Mars works so well with the actual brownie.
Next project, Twix!!
Stay posted, it's coming up next!

J x

Tuesday 9 August 2011

Easy Cheesecake

Here's the story.
I just got back from a holiday in Ibiza, and whilst we were there we went to a beach called Tropicana, and had some scrummy cheesecake at the restaurant. It's probably the best cheesecake I've ever tasted - perfect balance between creamy and sweet, and it had a little bit of strawberry coulis to cut through the tartness of the cheese. YUM

Just in case you don't believe how amazing it was, see for yourself.
DIVINE
 3 seconds later....
Well worth the calories...


Anyway, since I got home I've been craving cheesecake.
It's the best type of cake, hands down... 
So, I thought I'd make one. 
I actually got this recipe from one of my mum's old Evelyn Rose cookbooks - she's had it for over 30 years! It actually has specks of food inside, and some of the pages are a little stuck together (that's probably just leftover ingredients)..
This recipe was the most attractive, because it's the only tried and tested recipe I know of that is LOW FAT!
YES, low fat!
And still tasty.

Ingredients
Base
250g digestive biscuits, bashed into crumbs/dust with either a mallet or rolling pin (your choice)
70g melted butter
In the classiest way possible, pulverise the biscuits! You could also use a food processor to do this, but rolling pins are more fun!


Mix together with the melted butter, and then press into the bottom of a baking tin. No need to pre-bake, but I would suggest using baking paper or at least greasing the tin if you don't have one of those springform pans that come away at the bottom (like mine).


Firstly, preheat the oven to 180C

 Filling
240g curd cheese
240g quark cheese
1/2 tsp vanilla
1/2 tsp lemon juice
50g melted butter
2 eggs, separated, put the whites to one side
50g caster sugar
2 tbsp corn flour (corn starch)
5 oz soured cream (the reduced fat version, of course)

Place the cheese, vanilla, lemon, butter, egg yolks, sugar, cornflour and soured cream in a large bowl (yes, exactly the order that they're listed), and beat with a whisk until smooth and thick - no handmixer needed.
In another bowl, whisk the egg whites until they form stiff and glossy peaks, and then add in 2 extra teaspoons of caster sugar and beat for another 15 seconds.
Fold this into the cheese mixture, and then spoon it into the tin on top of the digestives.


Bake for around 30 mins at 180, and then turn the oven off and leave it in there for another 4-5 mins.
Cheesecake can often be tricky, especially since all ovens are different. It's so easy to under or over bake it, so DON'T leave the kitchen and make sure you keep your eyes on the oven.
The recipe said that it'd be ready when the outer inch of the cake was firm to the touch. The middle of the cake 'jiggled' (is that a professional term?) when I moved the tin, but it was cooked. Cheesecake continues to bake even after it's out the oven, so it's better that it's undercooked than over. Overcooked cheesecake = EWW
Leave the cheesecake in a cool area (ideally out of your immediate sight, so you don't pick at it in the meantime), and once cooled, put it in the fridge until ready to serve.

The Final Product
(I realise that there is a massive chunk missing - I can assure you, I had nothing to do with that..........)


It's not exactly like the glorious Ibizan cheesecake I had, but it is relatively AMAZING considering this version has around 1/16th of the calories.
Enjoy! I know I will..
Jenny x


Friday 22 July 2011

Fudgy Brownies

Lorraine Pascale's Cookies and Cream Fudge brownies have been my favourite for quite a while now, but they require quite a lot of time and effort to perfect. So, I've been on the lookout for some other good brownie recipes. I found Laura Vitale's recipe which doesn't require me to get out the standing mixer and make a massive mess in my kitchen, and these brownies tasted so good!

I followed the recipe exactly, and they came out perfectly!! :D

Melted chocolate....  mmmm

The batter was really fluffy, almost like chocolate mousse, but it made the brownies really light. 


Baked for 40 minutes at 180C

Crispy on the surface, and gooey in the middle.. 


 These didn't last very long..


They went down quite well!
I'll probably be testing out some more brownie recipes in the near future, so be on the lookout! :D

Jenny x