Monday 25 November 2013

Sticky Toffee Cupcakes

I forgot just how much I love sticky toffee pudding!!
These cupcakes aren't as rich or decadent as the real thing, but still really nice.
Also, NOTE for my readers. NEVER EVER TRY AND MAKE CARAMEL FROM CONDENSED MILK! Life is way too short to wait around for a tin to boil for 2 hours, and making it in the microwave was one of the stupidest ideas I've ever had. Just buy it ready made!!!!!!!!
These cupcakes are made up of a sticky date base and then a lovely caramel icing. The frosting requires some dulce de leche/caramel and I thought I'd be really smart and listen to internet forums and microwave condensed milk on low power in two minute intervals. What I was left with was a mahooosive caramel mess and a pyrex dish that has seen far better days.
So, with that in mind, let's get cracking!!
Side note - I'd never actually eaten an actual date before. I was pleasantly surprised!


Ingredients
180g pitted dates, chopped into small pieces
180ml boiling water
80g unsalted butter, softened
150g light brown sugar
2 large eggs
1/2tsp baking powder
1tsp bicarb
pinch of salt
1tsp vanilla extract 

Method
Preheat the oven to 190C and line a cupcake tin with 12 muffin cases.
Put the chopped dates into a small bowl and cover with the boiling water. Leave to soak aside for approx 20mins.
In a large bowl, beat the butter and sugar until light and fluffy. Add in the eggs one at a time until just combined. 
Sift the flour, baking powder, bicarb and salt into a little bowl and add into the mixture in three batches, beating on medium speed.
Add the vanilla into the date mixture (which should have cooled a bit by now) and then add into the mixture and fold to combine (caution; the batter doesn't look so appetising at this point but don't fret!).
Scoop into the cases and bake at 190C for 20-25 minutes. If you're using smaller cupcake cases you'll be able to get about 16 from the batter and they'll need anywhere between 18-20 minutes. 
They're cooked when they're firm to the touch and a skewer or knife inserted into the centre comes out clean.


FROSTING
160g unsalted butter, softened
400-500g icing sugar (depending on sweetness preferences)
50ml milk (use more, if needed)
100g tinned caramel/dulce de leche
some chopped dates, for garnish

Okay, so first I need to explain what happened.
This recipe calls for 100g of tinned caramel or dulce de leche. This isn't easy to find in normal UK supermarkets, so I thought I would try and make my own with some condensed milk.
I poured the condensed milk into a microwavable dish, covered with cling film and blasted on medium power for about 8 minutes (with two minute intervals so I could stir).
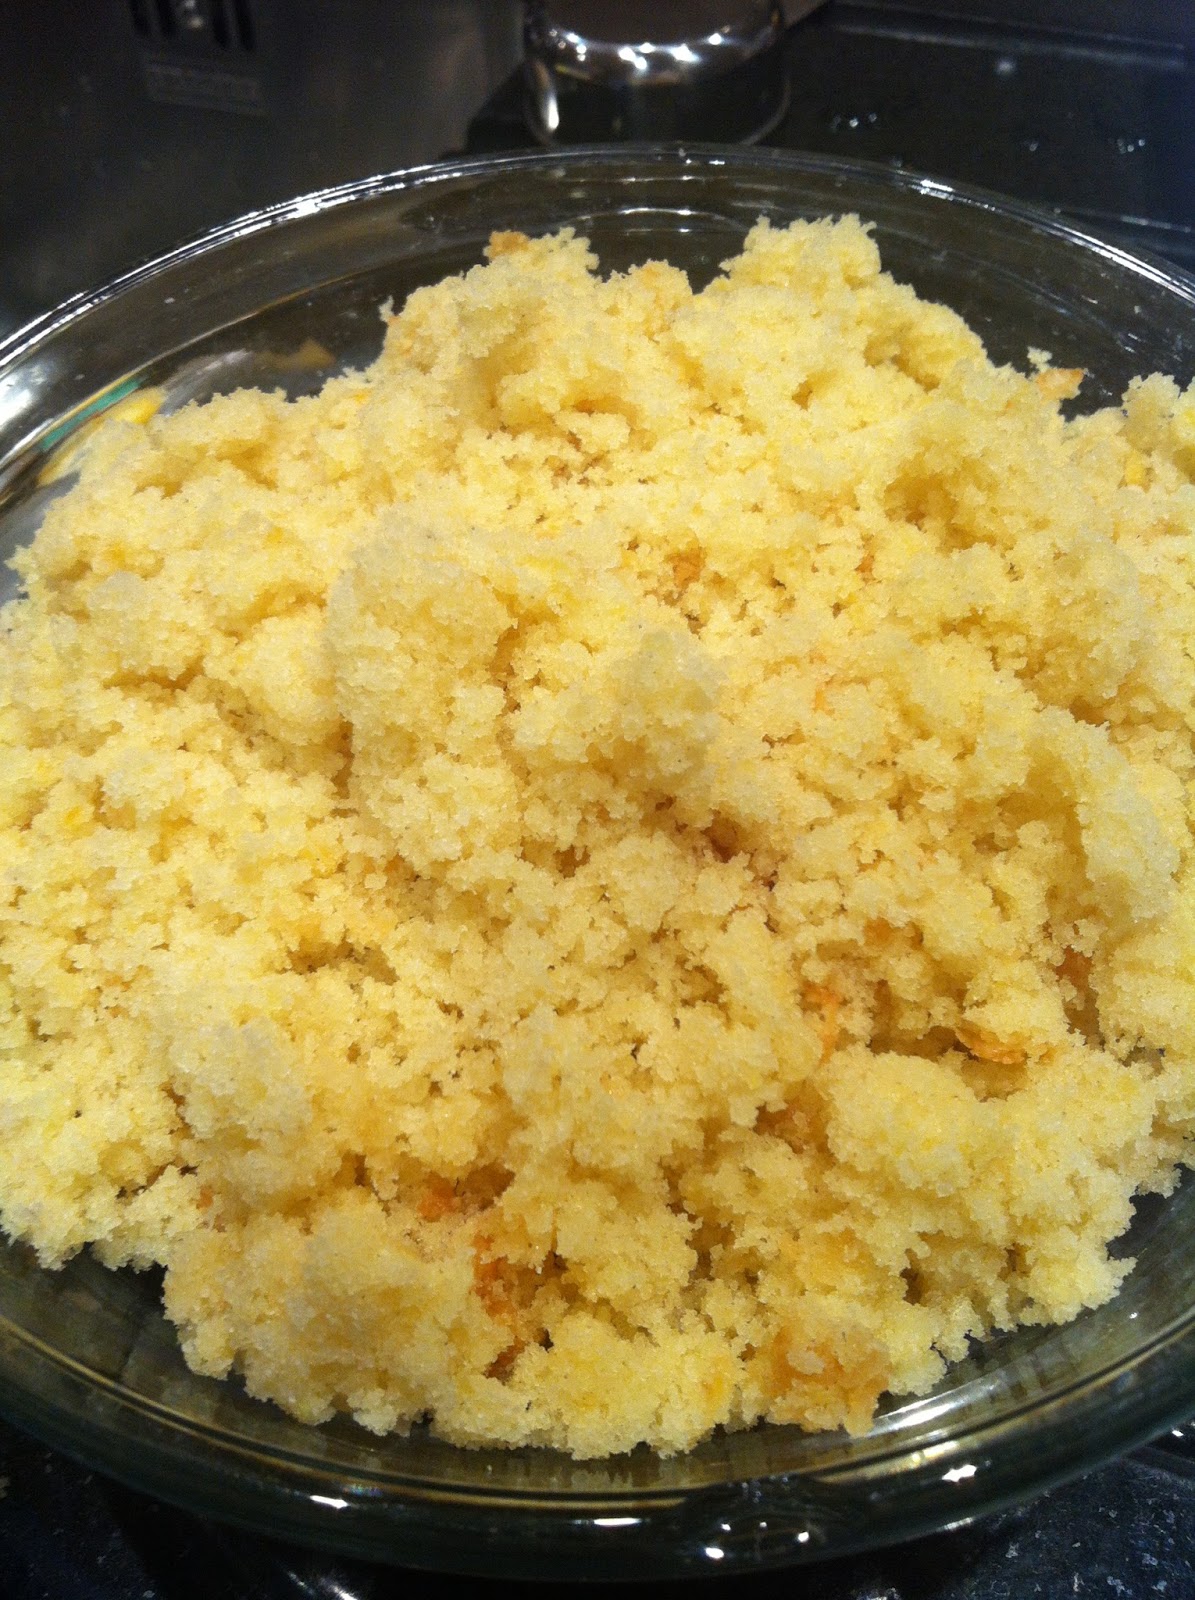
It bubbled violently, MELTED the cling film and congealed into a spongy caramel mess.

Exhibit A.


Obviously, it went straight into the bin!!!
I had used most of the condensed milk, but there was about 2 or three teaspoons of it left in the can so I threw that into the frosting and just added a bit of extra milk.
Beat all the ingredients together in a large bowl and, as usual, aim to get more in the bowl than on yourself.
Spread or pipe onto the cooled cupcakes and top with some chopped dates.


Bye for now!
J x

Wednesday 6 November 2013

Honeycomb Brownies

Warning. Don't try this at home!
Putting honeycomb in a brownie is just a rookie error - it melts in the oven and increases the baking time by threefold.
The brownie was still salvaged, but the honeycomb really didn't make much difference to the taste so overall was slightly pointless.
Regardless, honeycomb is fun to make and its one of the only baked goods that require a hammer/mallet to serve!

HONEYCOMB
or 'hokey pokey' if you're Cornish!
Nigella Lawson's recipe is extremely easy.
I love the episode where she makes this to take to a friend's dinner party and ends up eating most of it in the taxi en route. That hasn't happened to me, YET.
It's three simple ingredients.
100 grams caster sugar
4 tablespoons golden syrup
1 1/2 teaspoons bicarbonate of soda

Method
Put the sugar and golden syrup in a medium saucepan and stir to combine.
Turn on medium heat; refrain from stirring whilst the heat is on.
After about 3 or 4 minutes the mixture should bubble and melt and turn a lovely caramel/toasty golden colour. 
Take it off the heat and whisk in the bicarb. Immediately pour onto a piece of baking paper or greased foil and leave to set.
It should take about 45mins to an hour to set, but the longer you leave it the better.
Then, grab the hammer and smack the heck out of it!!!!


Next, the brownie.
This brownie recipe has been my favourite since I started baking, and nothing so far has beaten it.
Credit to Lorraine Pascale.
The brownies are perfect on their own, but I added the honeycomb for the sake of experiment and because I was incredibly bored on a Sunday afternoon.

INGREDIENTS
165 unsalted butter
200g dark chocolate (I used Bourneville)
3 eggs and 2 extra egg-yolks
a good splash of vanilla extract
165g soft light brown sugar
2tbsp plain flour
1tbsp cocoa powder
a pinch of salt

METHOD
Preheat the oven to 180C and line a brownie tin with parchment paper.
Melt the butter in a saucepan on a medium heat. Remove from the heat and then add in 200g of chocolate (either chopped or broken into pieces) and leave to melt and cool.


Next, beat the eggs on medium speed until fluffy and airy. Add in the vanilla. Add in the brown sugar in two batches at the edge of the bowl so as not to knock the air out. 
Mix on medium-high speed.
Once the chocolate mixture has cooled, pour into the egg mixture (at the side again) and fold gently with a spatula.
Mix in the flour, cocoa powder and salt until just combined.


Pour into the brownie tin and bake at 180C for approx 25-30 mins, or until the brownie is firm to the touch and a skewer/knife inserted into the centre comes out clean.
I'd suggest to NOT put the honeycomb pieces in!
When I did, the brownie took over an hour to bake!!!
Once cooked, leave to cool on a wire wrack.
These brownies are at their yummiest when they're left for a good few hours, maybe even overnight.
However, I did test them out IMMEDIATELY.


Happy eating!
J xx

Tuesday 22 October 2013

Lemon Streusel Muffins

Hi everyone!
Apologies for the delay. Last week, I joined my university's Baking Society!!!!! This has given me the PERFECT excuse to bake all week long and now my house smells like fresh cakes 24/7.
The first meeting was today and everyone needed to bring a cake encompassing the theme '5 a day'. I chose to make some lemon streusel muffins because they're such a hit!


Ingredients

FOR THE STREUSEL
1 and a half cups of all purpose flour
3/4 cup light brown sugar
170g/3/4cup unsalted butter, chilled
pinch of salt

FOR THE CAKE
2 cups all purpose flour
1 tsp baking powder
1tsp bicarb
a good pinch of salt
115g/1/2cup unsalted butter
1 cup of caster sugar
1tbsp of lemon zest
2 eggs
1tsp vanilla extract
1cup of soured cream

FOR THE GLAZE
1 cup icing sugar
3 tablespoons fresh squeezed lemon juice
splash of water, if needed

Method
Preheat the oven to 180C.
Grease and flour a 12 hole muffin pan OR loaf tin (in my opinion, the loaf is the better option!).
Make the streusel by combining all the ingredients together with a fork until you achieve a crumble-like consistency, and then leave in the fridge until needed.
CAKE
Combine the flour, baking powder, bicarb and salt in a small bowl and set aside.
To make the cake, beat the butter and sugar together and add in the eggs, vanilla and lemon zest. In alternating batches, blend in the flour and soured cream until fully incorporated.
Blueberries would go amazingly with this recipe - I tried it in a loaf tin but could only find frozen blueberries in the shops and they all sank to the bottom. Make sure to use fresh blueberries and to coat them in a tsp of flour before you add to the batter. This ensures that they don't sink to the bottom.
Spoon into the muffin/loaf tin and top with the streusel you made before.
If making muffins, bake in the oven for about 30-35mins and if baking a loaf, approx 1 hour OR until the cake firm to the touch and a skewer inserted into the middle comes out clean.
Remove from the oven and leave to cool.


GLAZE
Combine the icing sugar and lemon juice and drizzle over the freshly baked cake.


Then, eat them as quickly as possible before your housemates and neighbours get their hands on them (shout-out to Joseph Hyman who had about 4 from the batch I made at the weekend).


Jack really enjoyed the cake.


And so did Mitchell!!!


Bye for now!!
J x


Saturday 31 August 2013

Dairy-Free Vanilla Cupcakes

I know what you're thinking... Dairy-free cupcakes don't have the yummiest reputation, but these surprised me!
I needed to make a batch of dairy-free (or 'Parev' to all you Jews out there) cupcakes for an American-themed party the other day - Parev desserts have never really inspired or excited me; I much prefer a piece of decadent chocolate cake with pilings of buttercream to a dairy-free cake with a simple sugar icing. Regardless, I gave it a go. Instead of using my traditional vanilla cupcake recipe (and substituting the butter for margarine and the milk for soy), I thought I'd pull out my mum's old Evelyn Rose cookbook which prides itself with a wide range of desserts (both milky and Parev), most notably its fool-proof recipe for 'One Bowl Fairy Cakes'. This cookbook is older than me and the pages are covered with stains and crumbs! I think these fairy cakes were the first thing I ever baked in my mum's kitchen, and they have stood the test of time.
 
 
Measurements are in ounces - most scales should be able to weigh in ounces as well as grams. If not, have a look online at a conversion table.
 
INGREDIENTS
4oz butter or margarine (dairy free spreads such as Tomor and Pure are ideal)
4oz caster sugar
2 eggs
5oz self raising flour
1tsp baking powder
a splash of vanilla extract
 
METHOD
Preheat the oven to 200C (190C if you're using a fan oven)
Beat the 'butter' and sugar together with a mixer or wooden spoon until light and fluffy.
Add in the eggs, flour, baking powder and vanilla and mix until smooth.
Spoon into cake cases - I made some bigger cakes in muffin cases as well as some small ones in fairy-cake cases; just use whatever you have in the kitchen.
Cook for about 20 minutes (or until they are a light golden colour and a skewer inserted into the centre comes out clean).
Remove from the oven and leave to cool on the side.
 
FROSTING
These days I don't really keep to a specific frosting recipe. I typically use a ratio of butter to icing sugar of 1:3, but it's different each time.
In this instance I used around 100g of dairy-free spread (not too sure, I just eyeballed the measurement), about 400g of icing sugar and maybe 2tablespoons of soya milk. Dairy-free spreads usually have a very prevalent margarine-taste which I really don't like. So, I thought I'd mask it with tons of icing sugar and a lovely big splash of vanilla essence.
Just mix all the ingredients together in a big bowl until light and creamy and tweak the ratios of ingredients to cater to your own personal taste.
Either pipe or spread onto the cooled cupcakes.
Decorate any way you like. In spirit of the theme, I stuck a little American flag into each cake..
 
 
They didn't taste dairy-free in the slightest!
Keeping in line with the American theme, Alex and I turned up in some American-football shirts (sneakily borrowed from my brother's cupboard!).
I have absolutely no clue which teams we're supporting here, but it was a fun evening.
 
 
Also, Zac Efron made a surprising appearance!
Though he's cardboard, he was great company!
 
 
That's all for now!
J xx


Saturday 27 July 2013

Red Velvets are a crowd pleaser!

Nothing says 'Happy Birthday' like a batch of your favourite cupcakes!
My friend Hope turned 21 the other day, so a batch of her favourite flavour was in order!
She tried making my Salted Caramel Cupcakes a couple of months back and they turned out really well; so I decided to make these for her.
These cakes were to be unveiled at a friend's house with about 15 people watching, so only making one batch of 12 would be reckless. This was the perfect excuse to make some Red Velvets too!!!!!!
 
I had the BEST sous-chef, until he started eating the frosting when I wasn't looking.
 
 
When I'm baking, I become quite controlling and a tad bossy; I can't help it!!
I'm particularly protective of my piping bags, therefore trusting Alex to frost the cupcakes was a huge step for me! And he did prove very worthy of the Sous-Chef status.


Surprise!!!!!
She loved them, and I came home cupcake-less so they were a definite hit with everyone else!

 
Next time, I might leave some business cards next to my cakes... Teehee!!
A girl can dream

I'm honestly looking for any excuse to bake a cake; someone give me one!!!!!!!
J xx
 

Wednesday 17 July 2013

Lemon Cake Pops

It's mid July.. Where the heck has this year gone?!!
I have officially finished my second year of University and the lease for my third year house has began... But I still feel like I'm that 18 year old finishing her A levels in the summer of 2011!!!!!!!!
My baking-record has been appalling this last year, and I apologise. I usually keep my blog posts strictly cake-based and acknowledge that a majority of my audience don't actually care too much about my personal life. However, a couple of anecdotes here and there never hurt anybody?!
My boyfriend graduated at the start of July, and obviously I wasn't allowed to join his family to watch on the day unless I baked something..
We drove up to Leeds in two cars, stopping mid-way for lunch and dinner picnics. I needed to bake something which was mess-free, easy to eat, and easy to transport..
Voila, the cake pop!!
I'm not too sure where the cake pop originates from, but it's such a great idea and ridiculously easy to eat at 75mph on the M1 with one hand on the steering wheel (and simultaneously keeping our eyes peeled for Eddie Stobart vans).
I baked a lemon cake, crumbled it up and mixed with lemon-cream cheese frosting, forming the mixture into 'uniform' sized balls and enveloping them in white chocolate. A lollipop stick completes this tasty treat and, depending on how big your mouth is, the cake can be demolished in one or two bites.


I used this cupcake recipe.
Instead of a 12-hole muffin pan, I just used a normal 8-inch sandwich cake tin.
I kept the temperature at 180C, but increased the cooking time to 25-30 minutes.
Keep an eye on the cake and it's done when it's firm to the touch and a skewer inserted comes out clean.


Leave it to cool for a good few hours.
It can be a little bit sticky, but it's manageable. It's supposed to be a moist cake, and it tastes incredible on its own!
Crumble up the cake either in a food processor or with a hand-grater.


FROSTING
Only a tiny bit of frosting is needed here, so any recipe you use is likely to generate a hefty surplus!
Just use equal parts of unsalted butter and cream cheese. Add icing sugar, to taste. I added a touch of soured cream and a little splash of lemon juice to add a bit of zestiness.
Mix the frosting into the cake crumbs and form into balls.
Mine came out a bit awkwardly-shaped. Practice makes perfect I guess!!


They look a bit like deformed matzah balls...
The consistency makes it really hard to roll them without major crumbling. Just keep working at it. Once you're done, put them in the fridge for a couple of hours (I left them overnight). Once cold, they can be rolled in order to perfect the shape.

For the covering, melt between 2 and 3 big bars of Milky Bar. I know it's a lot of chocolate, but it's yummy, and the molten leftovers were great with my breakfast (so nutritious).
Insert a lollipop stick into each cake-ball, and dip in the chocolate.


Set the pops aside to dry - there is no ideal way of doing this. I stood them up individually in mugs - if anyone else has a suggestion (using typical items found in all kitchens) then please holler at me.
The last time I did this (with chocolate covered strawberries), my mum entered the kitchen and accidentally knocked them all over. This time however, everything stayed upright and intact!


Whilst the white chocolate is drying, sprinkle on a little extra lemon zest - just so the flavour is (somewhat) apparent to the person about to stuff it into their mouth!!


Unless kept at a very cold temperature (i.e in a fridge), these babies are prone to intense melting. Since we took them in the car up to Leeds on an extremely warm day, I wrapped them in foil and put them in a food bag with a couple of freezer packs. They stayed solid all day long, perfect for a nibble on the way back to London at 9pm!!
Undeniably, they are awkwardly-shaped. However, they taste phenomenal, I promise you!!

That's all for now. Hope you enjoyed!
J xx

Sunday 16 June 2013

Salted Caramel Cupcakes

These are GOOD!!
I've made them about three or four times now, each outcome has been slightly different.
It's a plain sponge cupcake (either chocolate or vanilla), filled with a salted caramel sauce and topped with a vanilla buttercream frosting.
The combination of the salty and sweet is one of my favourite, and these cupcakes are a definite crowd pleaser.


I prefer making these with a chocolate cupcake base, it just makes the cakes slightly more decadent! 
Credit to the Hummingbird Bakery (I'm obsessed with their new cookbook).
The cake came out quite dense when I made them a few weeks ago. I prefer a lighter and more crumbly cake so I altered the method a little bit. 
The recipe requires that one mixes the flour, sugar, butter and baking powder until you reach a crumbly consistency. Next, add in the wet ingredients. However, if you cream the butter and sugar together first, and then add in the eggs and flour, the cakes come out a little bit lighter and not as dense.

Ingredients
70g unsalted butter, softened
240g caster sugar
2 eggs
170g plain flour
50g cocoa powder
1 tsp baking powder
pinch of salt
210ml skimmed milk

Method
Preheat the oven to 170C and line a cupcake tin with 12 muffin liners.
Sift together the flour, cocoa, baking powder and salt into a medium sized bowl and set aside.
Beat the butter and sugar with an electric mixer until light and fluffy.
Add in the eggs one at a time and mix until incorporated.
Mix in the milk and flour mixture in alternating batches, starting with the dry ingredients. 
Spoon into the cupcake cases and bake for 20-25 minutes until the cakes are firm to the touch and a sharp knife (or skewer) comes out clean when inserted into the centre.
Leave the cakes to cool, and get started on the toppings.

CARAMEL SAUCE
These cupcakes are filled with a salted caramel sauce. Carnation sell a tinned caramel and this works quite well. Melt a couple of tablespoons of the caramel in a microwave on low power for about 20 seconds (more if needed). Add a pinch of sea salt.
Once the cakes are cooled, cut out a small hole in the centre with a knife. Fill the hole with caramel and then place the top back on.


FROSTING
A simple buttercream frosting goes really well with this cake.
175g unsalted butter, softened
300g icing sugar
little splash of vanilla extract
splash of milk, if needed.
Beat the ingredients with an electric mixer until light and fluffy.
Pipe or spread onto the cupcakes, and then drizzle on top some salted caramel sauce.


I made these cakes for my sister a few months ago. Here's my brother-in-law Josh; I think he enjoyed them!!!

That's all for now!
J xx

Friday 14 June 2013

Lemon Cupcakes

Hey peeps!!
Just a quick post...
I made some lemon cupcakes yesterday (they were incredible), thought I'd share the recipe!
Stumbled upon this recipe online somewhere, and they are ridiculously lemony.
According to Ina Garten (my favourite person on the Food Network by far), the most flavour is in the zest of the lemon!!! I didn't use any vanilla extract in the batter, and used lots of lemon juice in the cream-cheese frosting.


A family friend of ours makes the most INSANE lemon pavlova, and these taste almost identical!!!!
Here's how it goes..

Ingredients
60g unsalted butter, softened
140g caster sugar
2 eggs
100g plain flour
1/4 tsp bicarbonate of soda
1tbsp lemon juice
1tsp lemon zest (or more if you like it extra tangy)
1/4 cup soured cream

Method
Preheat the oven to 180C.
Line a 12-hole cupcake tin with some muffin liners.
Sift the flour and bicarb into a small bowl and set aside.
Beat the butter and sugar until light and fluffy, and then mix in the eggs.


Once the eggs are incorporated, add in the flour mixture and beat on medium until well mixed.
Next, fold in the lemon zest, juice and soured cream with a spatula, and spoon the batter into the prepared liners. I usually use an ice cream scoop - it just creates perfectly uniform-sized cupcakes. Because I used large muffin cases and quite a wide ice cream scoop, I only got around 8-9 cupcakes out of this batter. However, if you make them as normal cupcake size, you're likely to get about 11 or 12.

Bake at 180C for about 15-18 minutes, until the cakes are slightly golden and firm to the touch.
Take out of the oven and leave to cool.

FROSTING

A simple cream cheese frosting, with the volume turned up.

Ingredients
100g cream cheese
75g unsalted butter, softened
300g icing sugar
1 tsp lemon juice (to taste).
1 tsp soured cream
splash of milk (if needed)
extra lemon wedges, for garnish.

Beat the butter and cream cheese until smooth. 
Add in the icing sugar in small batches (so to avoid making too much mess).
Add in the soured cream and lemon juice and beat on high speed until light and fluffy.
Add milk if the frosting is still too thick.
Either spread or pipe onto the cupcakes and place a small lemon wedge on top to decorate.


So good!!!

Saturday 6 April 2013

Creme Egg Cupcakes

Hello!!!
It's me again, back from my ridiculous three month blog break. Sorry I keep leaving so much time between posts, I promise I'm working on it!
Creme Egg season has ended, but I couldn't allow March to end without whipping up a batch of these easter-themed cupcakes.


I tried out a chocolate cupcake recipe from the latest Hummingbird cookbook (a lovely present from my lovely boyfriend) and decorated it accordingly.
It's probably my new favourite cake-related cookbook - their cupcakes are just so cool!!
Owing to the end of the Creme Egg month (I should've listened to their 'goo today, gone tomorrow' slogan), me and my friend Kristina went on a mission around north London to find as many as we could. After about an hour, we returned home with about ten quid's worth of Creme Eggs, both regular and mini sized (probably the most productive part of my entire week).

Too many Creme Eggs for life!!

Ingredients
70g unsalted butter, softened.
170g plain flour
240g caster sugar
50g cocoa, sifted
1 heaped teaspoon of baking powder
pinch of salt
210ml milk
2 eggs
A years supply of large and mini Creme Eggs

Method
Line a cupcake pan with 12 muffin cases and preheat the oven to 170C
There are two methods of mixing the ingredients. I've only tried one so far (the one directed to in the book) but will try it the other way next time I make these. 
The book - combine the butter, flour, sugar, baking powder and salt in one large bowl and beat until just combined (a crumby consistency).


Mix together the eggs and milk in another bowl/jug and pour into the dry ingredients in two batches. Turn the mixer up to high speed and beat until combined.
Spoon the batter into the prepared cases (around 2/3-3/4 full - I just use an ice cream scoop to create uniform sized cakes) and cook at 170 for 20-25 minutes or until the cakes are firm to the touch and a knife inserted into the centre comes out clean.
Leave to cool and then transfer onto a wire rack until you frost them.


The other method - most cupcake recipes dictate that you cream the butter and sugar together first, add in the eggs and then the dry ingredients and milk in alternating batches. It makes the cupcakes a bit lighter and fluffier, whereas the method I used made the cupcakes appear denser (almost gooey and undercooked, but they were fine after a few hours).

Once cooled, well out a large hole in the centre of the cake (I have this nifty gadget called a cupcake plunger - thanks Dad!!). Chop the top of the Creme Egg (just as if you're having a soft boiled egg with toasted soldiers! Oh childhood..) and place it in the cupcake.

Either place the lid back on (if there's space), or frost directly on top.


FROSTING 
200g unsalted butter, very soft.
650g icing sugar
60-70ml milk
a pinch of vanilla (hummingbird frosting recipe doesn't call for this, however).

Beat the ingredients together until thick and creamy.
Try to avoid getting icing sugar on your clothes and frosting all over the walls by maintaining a slow speed at the start, and increasing the speed as the ingredients start to combine.
When making the cakes, I slightly lost control of the mixer and managed to get chocolate all over the nearby kitchen appliances. I only realised this when my mum handed me a cloth and pointed me in the direction of the mess I had made.
Anyway, anecdotes aside..
Frost the cupcakes either with a knife/spatula or piping bag.

As usual, I piped mine.
Put a mini Creme Egg on top to complete the cupcake!

Mmmmmmmmm

There are still a few left in the fridge - time for tea!!!

J x